Read in your language:

Showing posts with label Craft. Show all posts

Tuesday, January 15, 2013

DIY Wire Craft: Pet Schnauzers (铁线工艺: 雪纳瑞)

Now and then I would keep a lookout for things to surprise the boy with, and recently, I came across the perfect item when browsing in a bookstore. It was the perfect gift for me and the boy, since I like to craft and the boy loves his six schnauzers.


The box contained enough furred wire, eyes and noses to make 4 dogs.


Two different colored furred wires.


The head is being shaped first.


The nose.


The body and legs taking shape.


All done except for the nose and eyes.
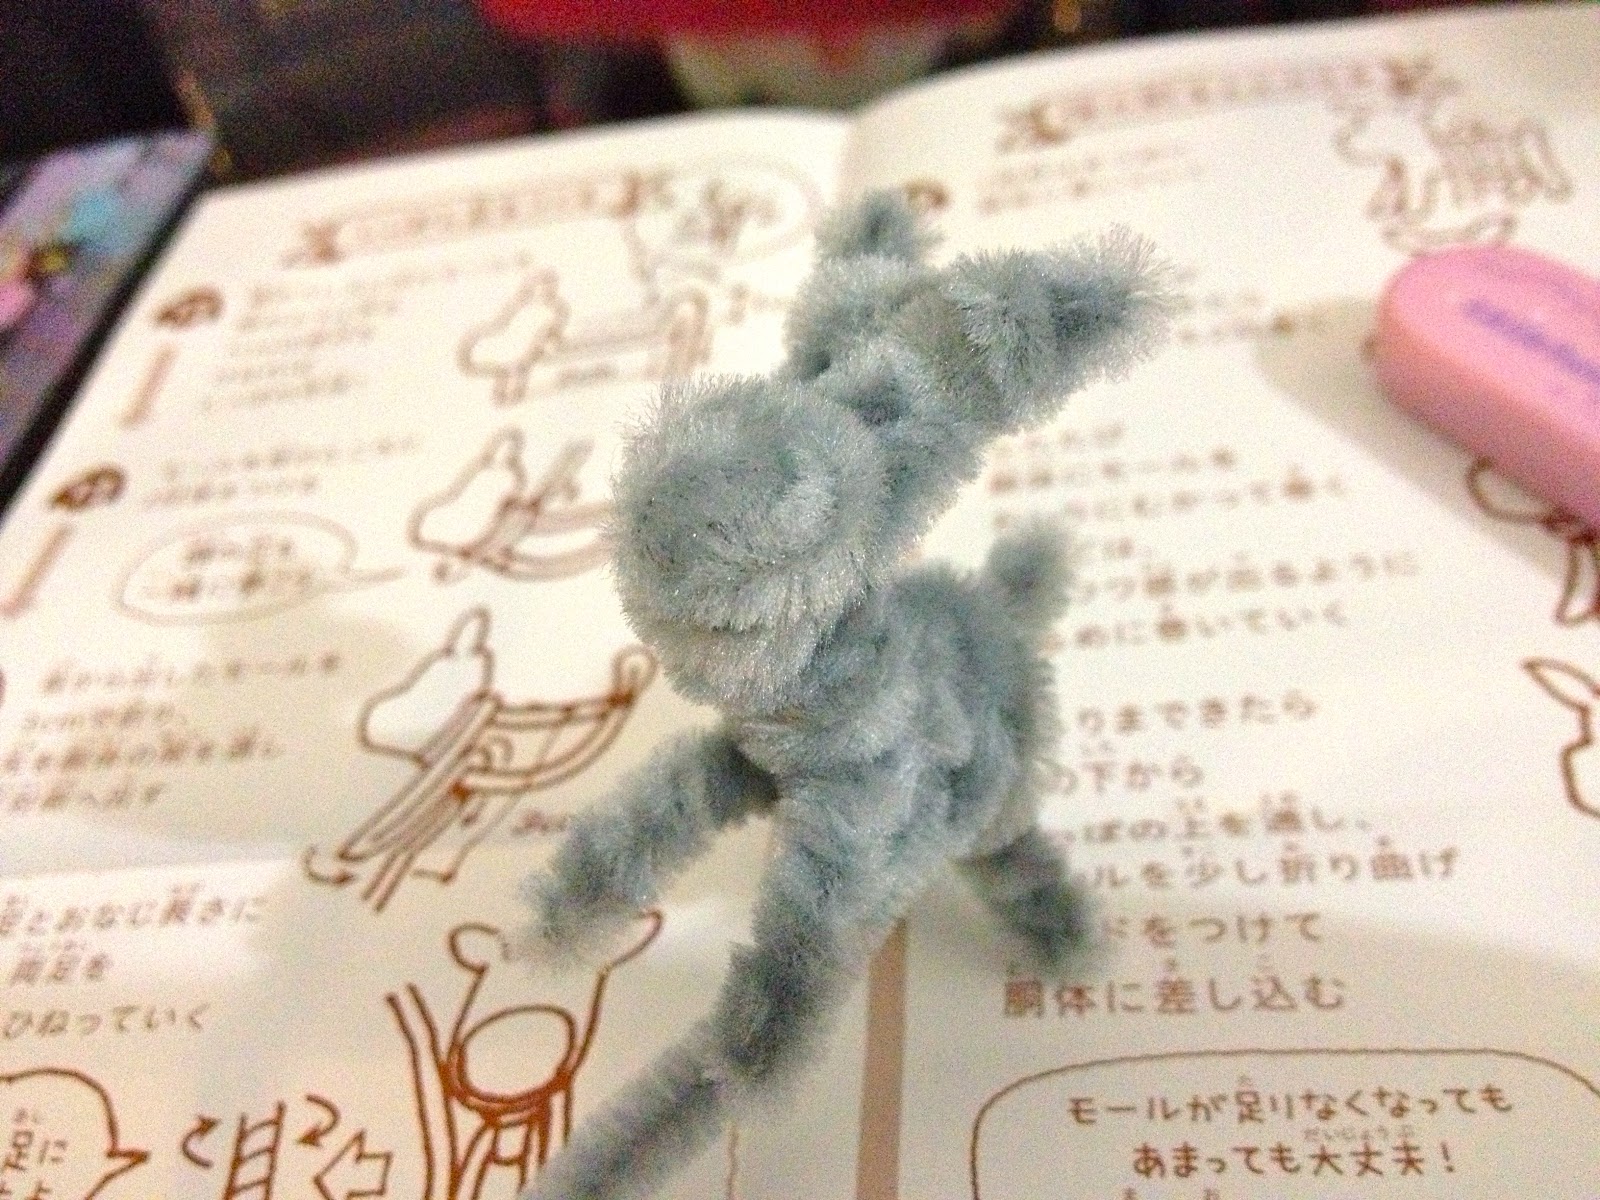

The beard which makes a schnauzer look like an old man, and the brows, had to be glued on, otherwise they would drop. That was the only thing I did not like about it, as I had make an additional purchase of glue. Other than that, the instructions were clear and the dogs were relatively simple and quick to make.


Friday, November 9, 2012

Sew! by Cath Kidston

I finally got down to sewing a shoulder bag during the two weeks my internet connection was down. The free time was greatly appreciated too, since my current bag was already splitting at the seams. 

My thoughts on Sew! by Cath Kidston:

It contains quite a number of interesting projects, both simple and moderately tedious, especially if like me, you have to sew by hand instead of using a sewing machine. Hence, this project took me much longer than it should have.

Sew! by Cath Kidston

Although it states on the cover that this book includes everything needed to make the bag, thread and needle isn't provided. Neither are scissors. So do remember to get these beforehand.

Sew! by Cath Kidston

The pieces of fabric are already cut to size, so the pattern sheet is redundant for this project, unless you plan on making more of the same with cloth you purchase or make some other variation of this bag.

Sew! by Cath Kidston

What disappointed me a little, is that the bag isn't as bag as I had imagined it to be. The base is only 9cm wide, and the bag approximately 20cm by 20cm. More than enough space for a long wallet, handphone, keys, tissues and perhaps a small cosmetic pouch, but definitely none left for a book.

Sew a Cath Kidston bag

Sew a Cath Kidston bag

Monday, June 11, 2012

DIY Paint-By-Numbers: Strolling In The Rain (数字油画: 雨中漫步)

I had always wanted to try one of these paint-by-numbers kit ever since I spotted them at a Bishan pushcart. There are now several of these pushcarts in various malls but they are expensive! It wasn't until I came across a rather good deal that I decided to take the plunge.

Paint-By-Numbers

The kits come in various sizes and the one I got measures 40 x 50 cm. It includes a cotton canvas on a wooden frame, a photocopy of the canvas with instructions, a set of paints and 3 paint brushes.

Paint-By-Numbers

Although the pots of paint are minute, they are enough for you to complete the painting.

Paint-By-Numbers


Paint-By-Numbers

 This is the painting I got myself. A couple strolling in the rain. I'd like to do that some day.

Paint-By-Numbers

Well, and that's where all things good about paint-by-numbers end. This is what you get when you follow the boundaries. In fact, I've adjusted it slightly so that it looks better. Compare it with the picture above. It's still terrible.

Paint-By-Numbers

If you do not have any artistic talent whatsoever, you are not going to get the beautiful picture they promised you on the box. Now excuse me while I go beg around for some.

Paint-By-Numbers


Click here to view another DIY Painting (completed): Blossoming Almond Tree by Vincent Van Gogh.

Saturday, December 17, 2011

Making Ang Ku Kueh @ Singapore Philatelic Museum

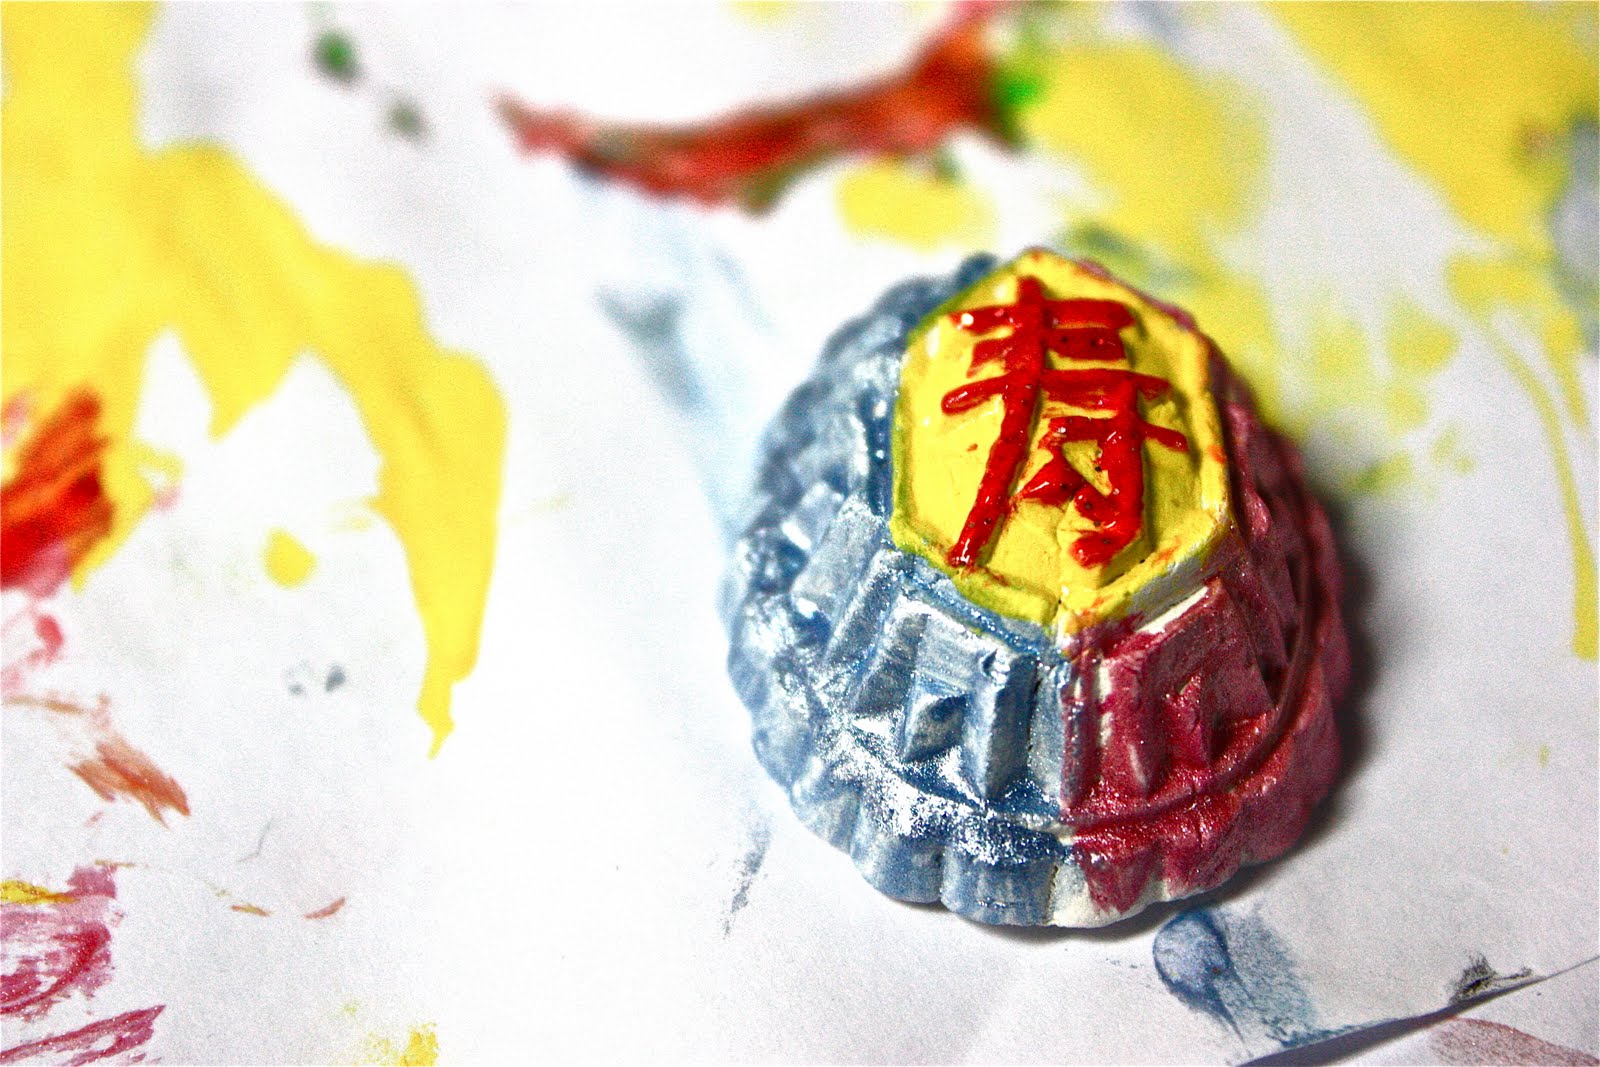
It was my first time visiting the Singapore Philatelic Museum, and I got to show off my artistic skills by making an ang ku kueh magnet.

clay art

clay art

clay art

clay magnet

clay magnet


Tuesday, January 5, 2010

Progress of Peranakan Shoe Beading (Kasut Manek)

This is where I'm at at the moment. Haven't been beading for the past two weeks. I'm starting to wonder if I'll ever finish it. But I wanna do another pair!

Peranakan Shoe Beading

Pain is a neccessary evil.

Wednesday, October 7, 2009

Peranakan Shoe Beading Course (Kasut Manek)

These are the materials provided by the trainer. A porcelain saucer for holding the beads, a small pair of foldable scissors, a pack of tiny needles for beading, two huge needles for breaking wrongly placed beads, and beading thread.

Peranakan Shoe Beading (Kasut Manek)

The canvas provided by the instructor is harder than regular cross stitch cloth. This is glued to a piece of backing cloth made of cotton which is attached tightly to a frame. We were also given some blue colored practice beads.

Peranakan Shoe Beading (Kasut Manek)


There were a few templates for us us to choose from, depending on our gender (yes, males wear beaded shoes too, but sewn by a woman of course), the size of our feet and the type of shoe we wanted (open or close-toed). The chosen template has to be cut out and traced onto the canvas before beading can commence.

I chose for my shoe to be close-toed. Note that if you choose the close-toe option, you would have a larger background area to bead.

Peranakan Shoe Beading (Kasut Manek)


The colors were chosen for me by the trainer, and this is how it looks like with the first two flowers completed. Somehow I feel that the colors look like they'd be more suitable for a male than a female. It also bugs me endlessly how the beads look like lego pieces.

Peranakan Shoe Beading (Kasut Manek)

You can take a look at my progress here, with the background partially done.

Sunday, November 2, 2008

Chinese Ink Painting Class Lesson 9: Lotus

After missing two lessons, I was happy about this lotus painting class. Very minimal brushwork as the lotus leaves were created using crushed paper dipped in water and black ink and the edges smoothened with a brush.


chinese painting lotus

chinese painting lotus


Monday, October 6, 2008

Chinese Ink Painting Class Lesson 4: Roses & Butterflies

We're still painting flowers.
This time it's roses, which is supposed to be easier than chrysanthemums, and I agree.

Roses: Carmine
Leaves: Black ink, a little Phtalocynine blue/ Indigo.

The trick to getting the roses right is to make sure each layer wraps round the previous one in a more or less traiangular pattern.

Chinese Ink Painting Roses


Monday, September 29, 2008

Chinese Ink Painting Class Lesson 3: Chrysanthemums & Butterflies

Since some of you might want to know more about the place, here's how the building looks like.

Chinese Ink Painting Class
A standard classroom.

Chinese Ink Painting Class
There are about 10 students per class.

Paper is provided FOC, and although it is a poorer quality paper meant for calligraphy, it works just fine for practice. Watercolors are standard Marie's brand for students.

Chinese Ink Painting Class

Today we learnt how to paint a different type of chrysanthemum.
And butterflies too.

Teacher explaining how the composition of the leaves should be like.

Chinese Ink Painting Class

Colors used
* Chrysanthemum flowers
Phtalocyanine Blue (tai qing lan) + Carmine Lake (zhu hong)
* Stem and leaves
Black ink
* Big butterfly
Green label three (san lu), Gamboge (teng huang), a little Carmine
* Small butterfly
Gamboge

Chinese Ink Painting Class


Sunday, September 21, 2008

Chinese Ink Painting Class Lesson 2: Chrysanthemums

Today had us painting chrysanthemums.
I took a few videos but until I figure out how to select frames in order to avoid showing anybody's face, I will just put this up.

chinese ink painting chrysanthemum
Flowers and stem drawn with black ink.
Leaves drawn with a mixture of black ink and Hua Qing.
Flower heads colored with yellow and a hint of Zhu Hong.

Monday, September 8, 2008

Chinese Ink Painting Class Lesson 1: Hen and Rooster

I was searching high and low for a place that conducts chinese ink painting classes, especially the community centres, but none fell on a wednesday evening when the boy has golf and I'd be alone. However, last Friday I found a class that is on Sundays, when the boy has golf too. I chose the latter session which was at 1.45pm so that the boy could have lunch with his friends, go home for a shower, then come fetch me for a day out.

It was held in a very old building. I had a hard time finding it and was 10 mins late for class. Fortunately, the teacher arrived even later, which meant that I did not miss anything. His teaching method is to pin a photocopy of a painting on the whiteboard, and demonstrate on a blank piece of paper pinned beside the photocopy.

Today we drew my most hated subject, the hen and rooster :(
I wanna draw flowers!!!

chinese ink painting rooster and hen


My weakness:
Proportion (Can never get the legs right. They're always too big, or it doesn't look like the hen is standing).